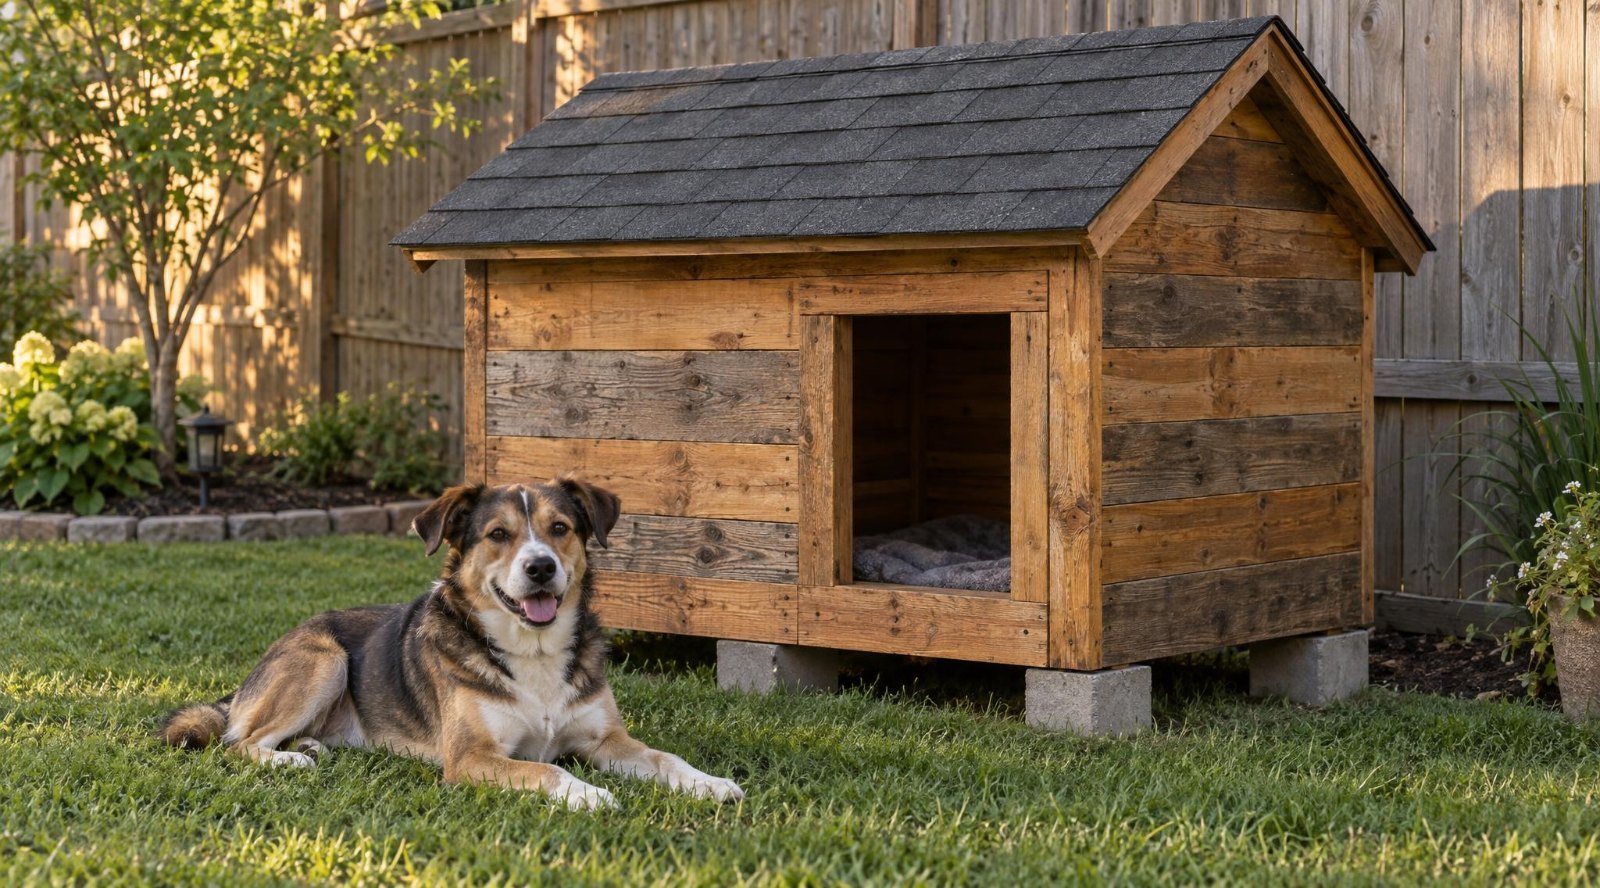
Pallet Dog House: Step-by-Step DIY Plans With Cut List

A pallet dog house is a small framed shelter built from reclaimed shipping pallets: the thick pallet stringers become the frame, and the deck boards become the floor and walls. With free pallets, a box of screws, a sheet of plywood and some shingles, it usually costs $50 to $120 to build. This guide covers which pallets are safe, how to size the house for your dog, a full cut list for a medium dog, step-by-step assembly, and how to weatherproof it.
This post contains affiliate links. As an Amazon Associate I earn from qualifying purchases.
Short on time? Buy a ready-made dog house instead:
- Insulated dog house – built for cold and wet weather
- Large wooden dog house – classic look, assembles in an afternoon
- Outdoor heated pet pad – adds warmth in winter
- Dog house door flap – keeps wind and rain out
What you’ll need to build it:
Exterior wood screws, Cordless drill, Cedar bedding, Exterior wood sealant.
Quick Answer
- Pallets: 4 to 6 standard pallets. Use only pallets stamped HT (heat treated) or KD (kiln dried). Never use MB (methyl bromide) pallets, or any that are stained, oily or smell of chemicals.
- Size: inside length and width about 1.25 times your dog’s length (nose to base of tail). Inside height about 1.25 times their standing height.
- Door: about 3/4 of your dog’s shoulder height, a little wider than their chest, set off to one side.
- Must-haves: floor raised 3 to 4 inches off the ground, a sloped roof with a 3 inch overhang, and a real roof covering (shingles or a metal panel).
- Time and cost: one weekend, about $50 to $120 if the pallets are free.
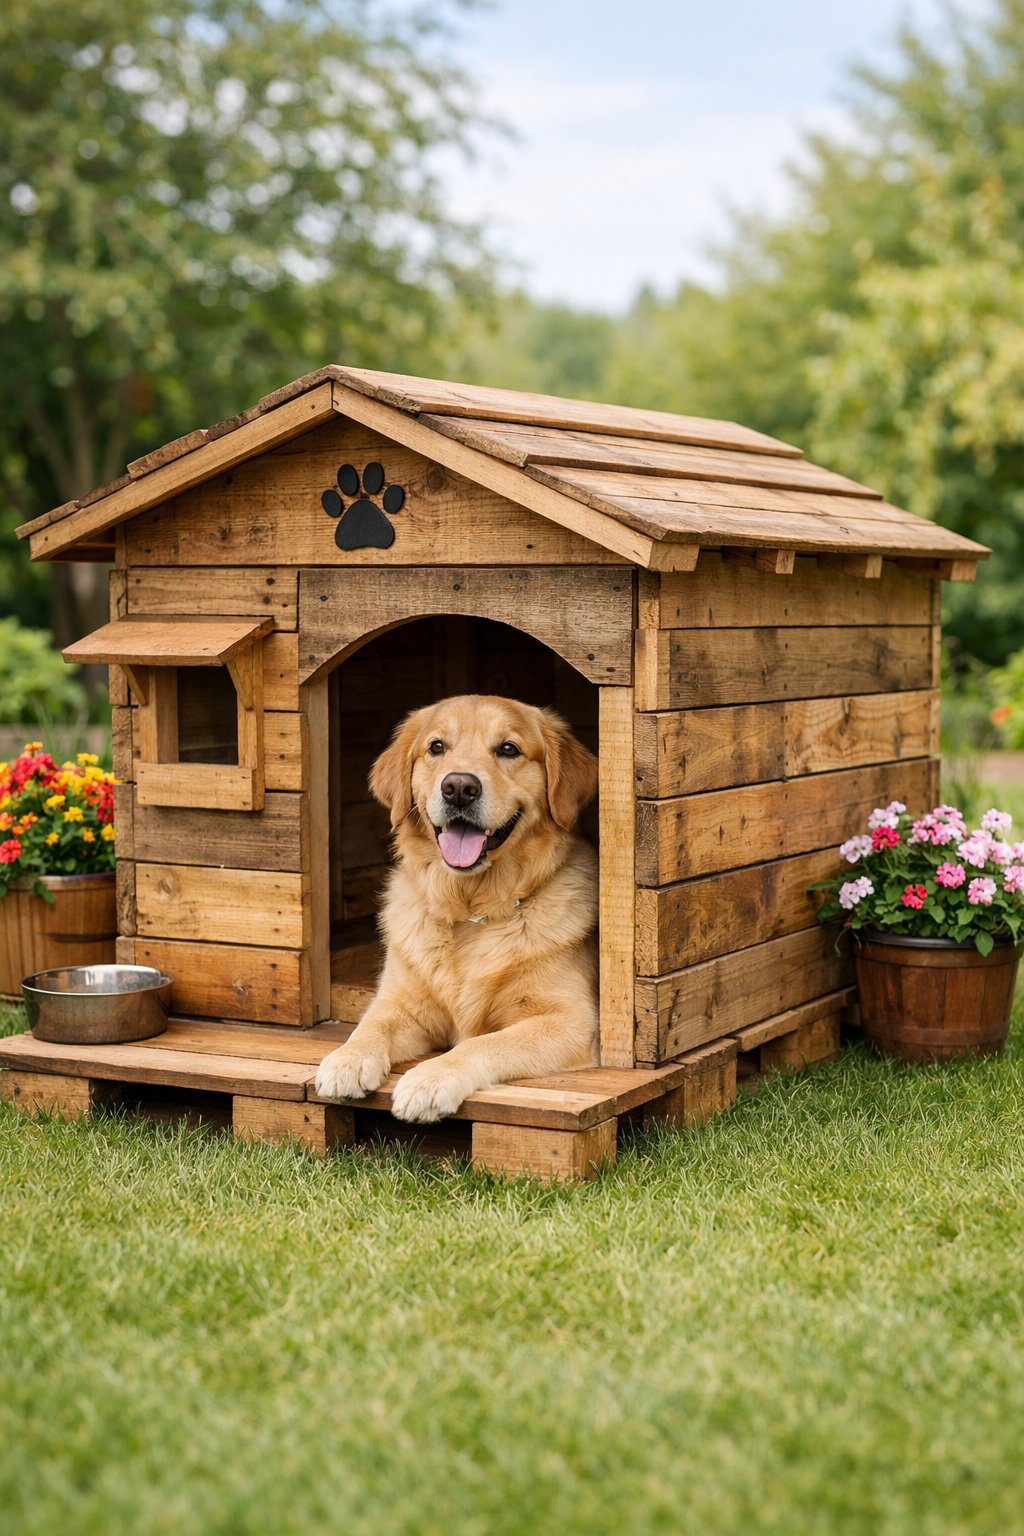
Step 1: Find Safe Pallets
Every pallet that crosses a border carries an IPPC stamp, a small box with a wheat-stalk logo and a few codes. Check it before you take a pallet home.
| Stamp or sign | What it means | Use it? |
|---|---|---|
| HT | Heat treated to kill pests. No chemicals. | Yes |
| KD or KD-HT | Kiln dried (and heat treated) | Yes |
| MB | Fumigated with methyl bromide, a toxic pesticide | No |
| No stamp | Usually a domestic pallet with unknown history | Only if clean, dry and odor-free |
| Painted blue, red or brown | Rental pallets owned by a pallet company (CHEP, PECO and others) | No. They aren’t free to take. |
| Stains, spills, oily or chemical smell | Possible contamination from what it carried | No |
Good sources: hardware stores, garden centers, feed stores and small businesses. Always ask before taking pallets. Look for boards without large cracks or rot, and stringers (the thick runners) that are solid.
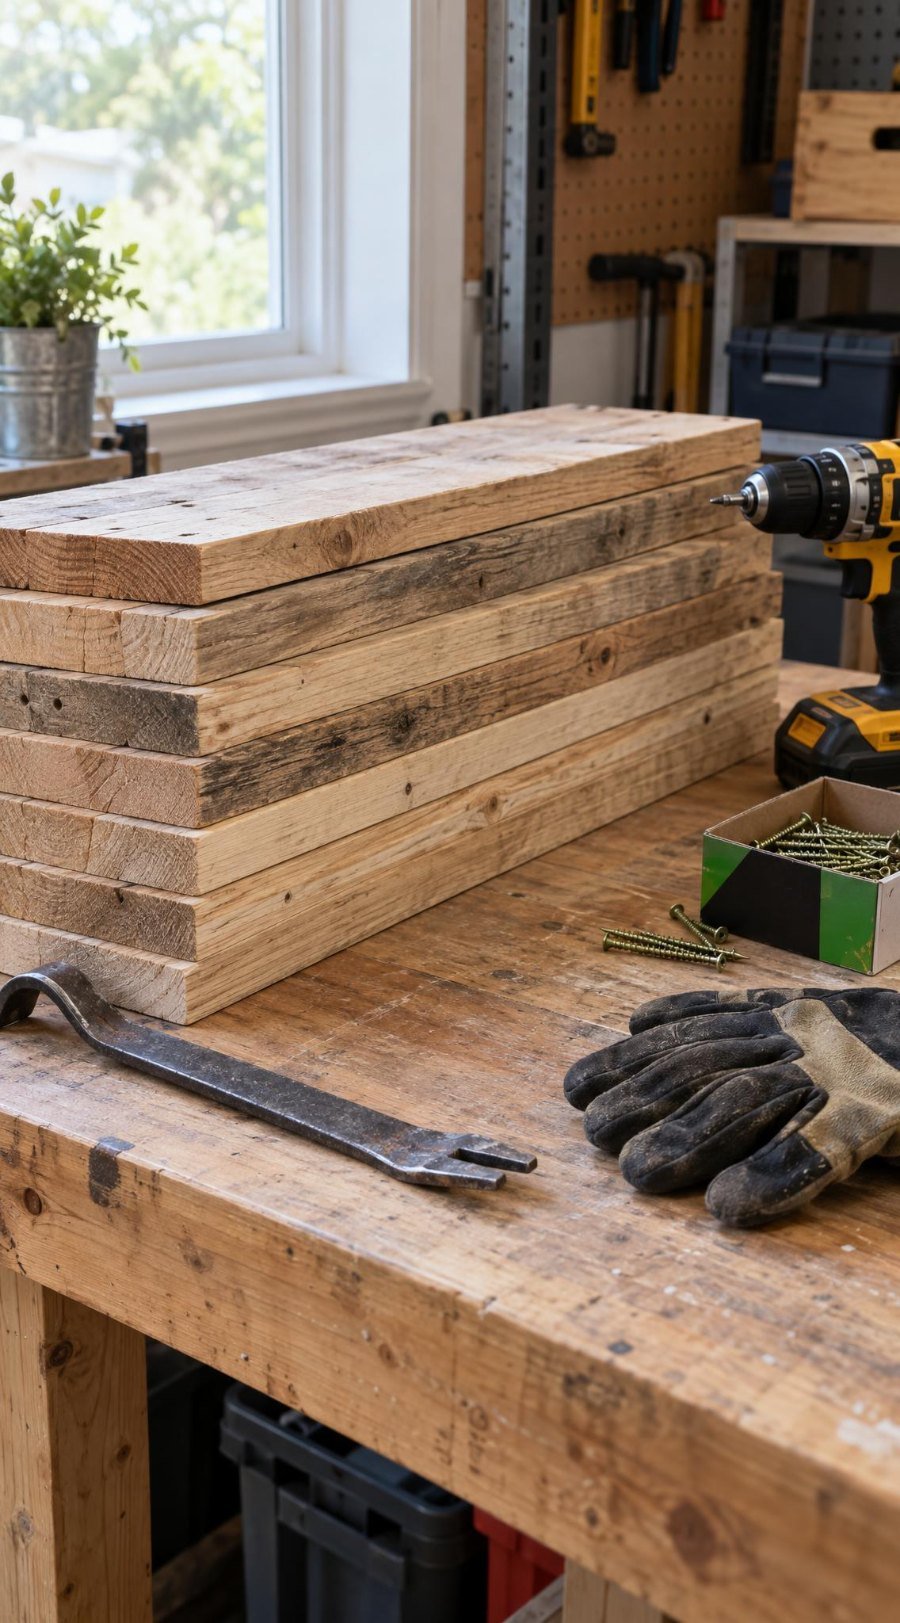
Step 2: Size the House for Your Dog
A dog house should be just big enough for your dog to stand, turn around and lie down stretched out. Too big and it won’t hold body heat in cold weather.
- Length (A): measure your dog from the tip of the nose to the base of the tail.
- Height (B): measure from the floor to the top of the head while standing.
- Shoulder height (C): floor to the top of the shoulders.
| Part | Formula | Example: 50 lb dog (A 28″, B 26″, C 22″) |
|---|---|---|
| Inside length | A × 1.25 | About 35″ |
| Inside width | A × 1.0 to 1.25 | About 28 to 35″ |
| Inside height | B × 1.25 | About 32″ |
| Door height | C × 0.75 | About 16 to 17″ |
| Door width | Chest width + 2″ | About 12 to 14″ |
Typical Inside Sizes
| Dog size | Inside L × W × H |
|---|---|
| Small (under 25 lb) | 24″ × 20″ × 22″ |
| Medium (25 to 60 lb) | 36″ × 28″ × 30″ |
| Large (60 to 90 lb) | 44″ × 34″ × 36″ |
The plan below is for a medium dog. For a different size, change the cut lengths to match your numbers.
Materials and Tools
Materials (medium dog plan)
- 4 to 6 heat-treated pallets
- 1 sheet of 1/2 inch exterior plywood (4 × 8 ft) for the floor and roof
- 2 1/2 inch exterior-rated deck screws (about 1 lb) and 1 1/4 inch exterior screws (about 1 lb)
- Roof covering: a bundle of asphalt shingles plus roofing felt, or a corrugated metal or polycarbonate panel
- 4 concrete pavers or blocks to raise the house
- Exterior caulk
- Exterior stain or sealant (water-based, low-VOC)
Tools
- Pry bar or pallet buster, hammer
- Reciprocating saw with a metal-cutting blade (to cut pallet nails)
- Circular saw or miter saw
- Cordless drill and driver
- Tape measure, square, level
- Sander with 80 and 120 grit
- Gloves and safety glasses
Step 3: Take the Pallets Apart
- Wear gloves and eye protection. Pallet wood splinters and old nails are sharp.
- The easiest method: slide a reciprocating saw blade between each deck board and the stringer and cut through the nails. The boards come off whole.
- Or pry each board up slowly, working from one end, with a pry bar or pallet buster.
- Pull or cut off every leftover nail. Keep them in a can so none end up in the yard.
- Sort the pieces: stringers (thick runners, usually about 1 1/2 × 3 1/2 inches, the same as a 2×4) become your frame. Deck boards become walls.
- Scrub the boards with soapy water if they’re dirty, let them dry for a day or two, then sand off splinters, especially anything inside the house.
Cut List: Medium Dog House
Finished inside size about 36″ long × 28″ wide, 30″ tall at the front sloping to 24″ at the back. Frame pieces come from pallet stringers.
| Part | Qty | Length | From |
|---|---|---|---|
| Floor frame, long sides | 2 | 39″ | Stringers |
| Floor frame, cross pieces | 3 | 28″ | Stringers |
| Floor deck | 1 | 39″ × 31″ | 1/2″ plywood |
| Front corner posts | 2 | 30″ | Stringers |
| Back corner posts | 2 | 24″ | Stringers |
| Top rails, front and back | 2 | 28″ | Stringers |
| Top rails, sides (sloped) | 2 | About 37″ (measure in place) | Stringers |
| Door framing | 2 to 3 | Cut to fit | Stringers |
| Wall boards | About 35 to 45 | Cut to fit | Pallet deck boards |
| Roof panel | 1 | 45″ × 37″ | 1/2″ plywood (gives a 3″ overhang all around) |
Step 4: Build the Floor
- Screw the three 28″ cross pieces between the two 39″ long sides: one at each end and one in the middle. Use two 2 1/2″ screws at each joint.
- Check the frame is square by measuring both diagonals. They should match.
- Screw the plywood floor on top with 1 1/4″ screws every 6 inches.
- Set four concrete pavers on level ground and place the floor on them. The floor should sit 3 to 4 inches off the ground so water drains away and air flows underneath.
Step 5: Frame the Walls
- Screw a 30″ post inside each front corner and a 24″ post inside each back corner, flush with the outside of the floor frame. Check each post with a level.
- Screw the 28″ top rails across the front and back posts.
- Lay a stringer along each side from the front post top to the back post top, mark the angle, cut, and screw it in place. This creates the roof slope.
- Frame the door opening in the front wall with two short vertical stringers. Place it off-center so your dog has a corner out of the wind. Leave a 3 to 4 inch “threshold” at the bottom to keep bedding in and rain out.
Step 6: Add the Wall Boards
- Starting at the bottom, screw pallet boards horizontally across the outside of the frame. Two 1 1/4″ screws at each post.
- Overlap each board slightly over the one below it, like siding, so rain runs off instead of in.
- Trim the side boards along the roof slope after they’re on.
- Leave a 1 inch gap along the top of the back wall, under the roof overhang, for ventilation.
- Sand the door edges smooth.
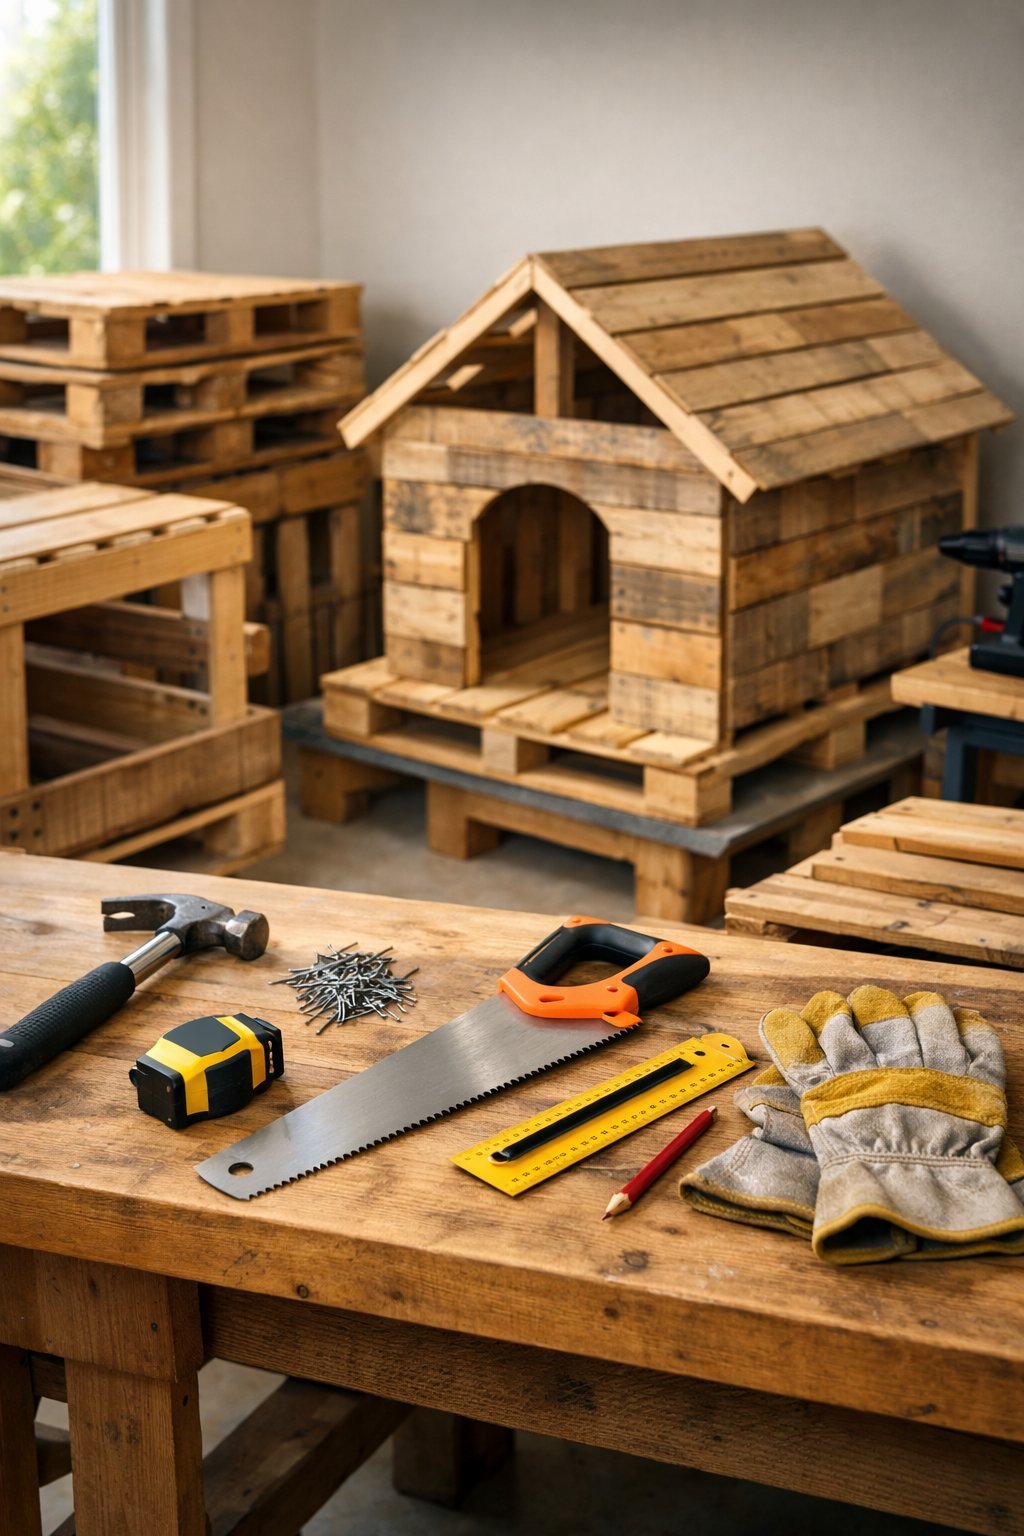
Step 7: Build the Roof
- Set the plywood roof panel on top so it overhangs about 3 inches on every side. Screw it into the top rails every 6 to 8 inches.
- For easier cleaning, you can attach the roof with two exterior hinges at the back instead, so it lifts open.
- Staple roofing felt over the plywood, then nail on shingles starting at the low edge, overlapping each row. Or screw a corrugated metal or polycarbonate panel on top with gasketed roofing screws.
- Caulk the gap where the roof meets the walls at the front and sides.
Pallet boards alone aren’t waterproof as a roof. The plywood and roof covering keep the inside dry.
Step 8: Seal and Finish
- Sand all edges, then apply two coats of a water-based, low-VOC exterior stain or sealant to the outside and the underside of the floor.
- Leave the inside bare or use the same water-based product. Avoid oil-based products, creosote and anything not rated for exterior use.
- Let it cure fully, usually 48 to 72 hours, before your dog moves in. Air it out until there’s no smell.
- If you use linseed or other drying oils, spread used rags flat outside to dry or soak them in water. Balled-up oily rags can catch fire on their own.
Step 9: Make It Comfortable
Cold weather
- Bed with straw, not hay. Straw stays dry and insulates. Hay holds moisture and molds.
- Add a heavy rubber or vinyl door flap that overlaps the opening by about 2 inches.
- For extra warmth, add rigid foam insulation inside the walls and roof, then cover it with plywood or pallet boards so your dog can’t chew it.
- Use only heated pads made for outdoor pets, with chew-resistant cords. Never use heat lamps or space heaters in a dog house.
Hot weather
- Place the house in full shade.
- Remove the door flap and keep the ventilation gap open.
- A dog house is not a cool place in summer heat. Your dog still needs shade, water and a way indoors.
Placement
- Face the door away from your area’s prevailing wind.
- Set it on level, well-drained ground, not in a low spot where water collects.
For a warmer build, see our DIY insulated dog house guide.
Cost Breakdown
| Item | Approximate cost |
|---|---|
| Pallets | Free to $10 each |
| 1/2″ exterior plywood sheet | $35 to $60 |
| Exterior screws | $10 to $20 |
| Shingles and felt, or a metal panel | $20 to $45 |
| Concrete pavers | $8 to $15 |
| Stain or sealant | $15 to $30 |
| Total | About $50 to $120 |
Prices vary by area. Leftover shingles and plywood scraps bring the cost down further.
Maintenance
- Monthly: sweep it out, change or wash the bedding, and check for loose boards and raised screw heads.
- Every season: check the roof for leaks and the floor for soft spots.
- Every year: re-coat the outside with sealant, ideally before the wet season.
Frequently Asked Questions
Are pallets safe for a dog house?
Pallets stamped HT (heat treated) or KD (kiln dried) are safe to use. Avoid pallets stamped MB, which were fumigated with a toxic pesticide, and any pallet that’s stained, oily or smells of chemicals.
How many pallets do I need for a dog house?
About 4 to 6 standard pallets for a small or medium dog, and 6 to 8 for a large dog. You’ll also need plywood for a solid floor and roof.
Can I build a dog house from whole pallets without taking them apart?
Yes. A quick version uses one whole pallet as the floor and stands whole pallets up as walls. It’s faster but heavier, drafty between the slats, and usually too tall for the dog’s body heat to warm. Taking pallets apart gives a tighter, better-fitting house.
Do pallet dog houses keep dogs warm?
A tight, correctly sized pallet house with a raised floor, a door flap and straw bedding gives good shelter from wind and rain. In freezing climates, add insulation and bring your dog inside during extreme cold.
How long does a pallet dog house last?
With a raised floor, a real roof covering and a fresh coat of sealant every year, several years or more.
The Short Version
- Use HT or KD stamped pallets only. Skip MB, painted rental pallets and anything stained.
- Size the inside at about 1.25 times your dog’s length and height. Keep the door off-center.
- Raise the floor, slope the roof, and cover it with shingles or a metal panel.
- Seal the outside with a water-based exterior finish and let it air out before use.